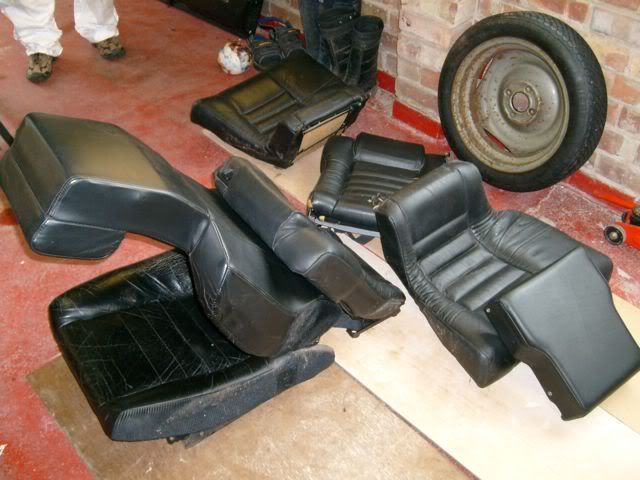
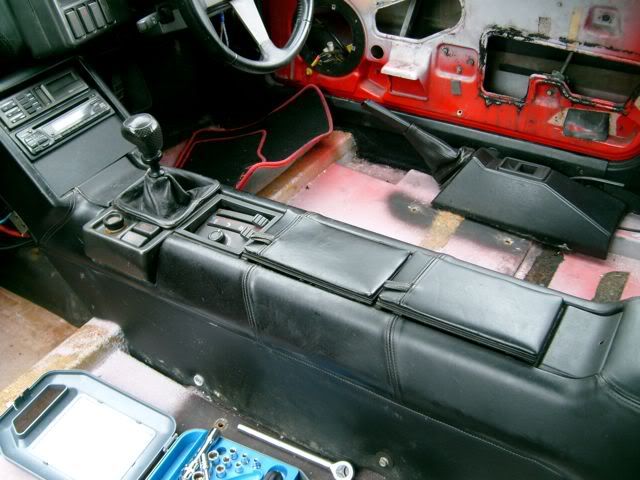
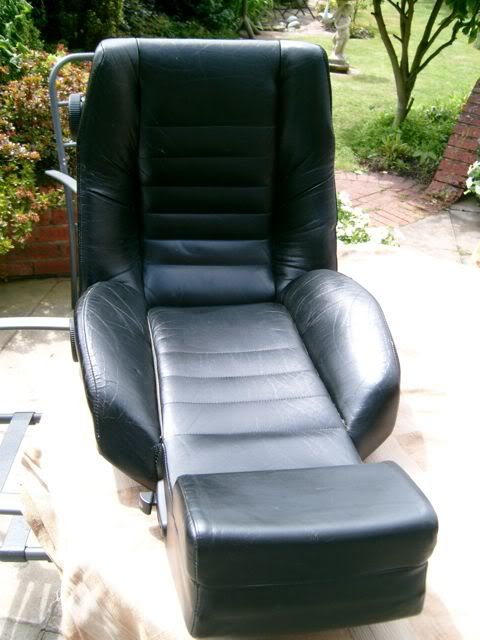
While I continued, my wife cleaned downed all of the leather with saddle soap (top tip for anyone with leather to clean - it's cheap and works a treat!) with pleasing results -
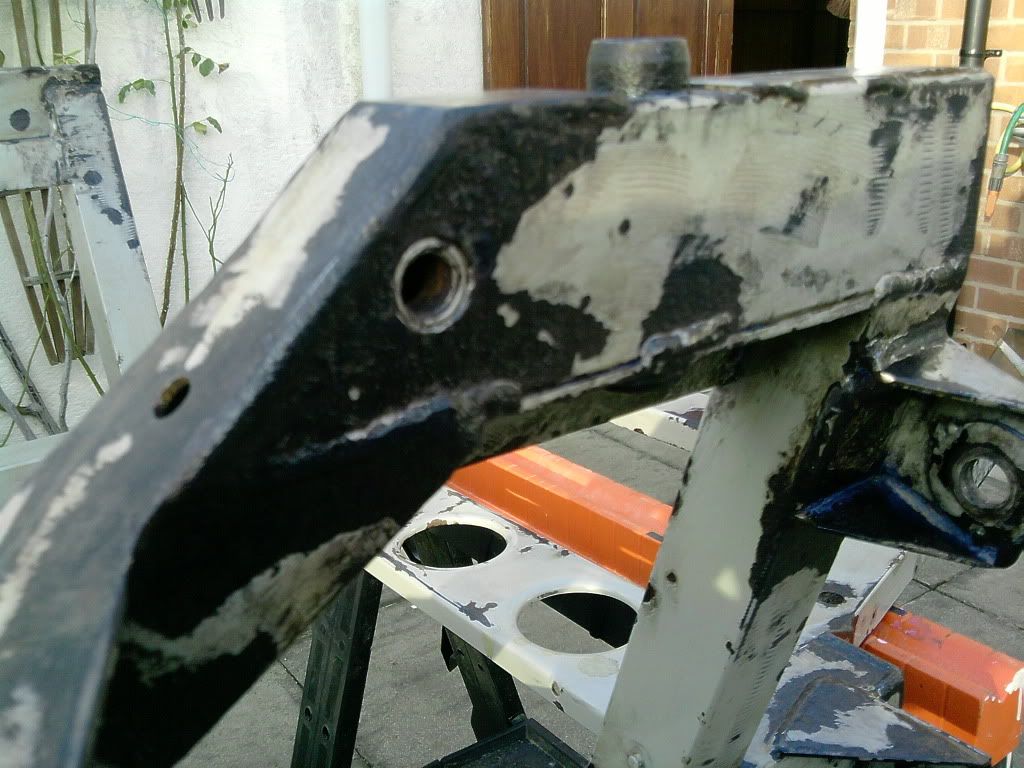
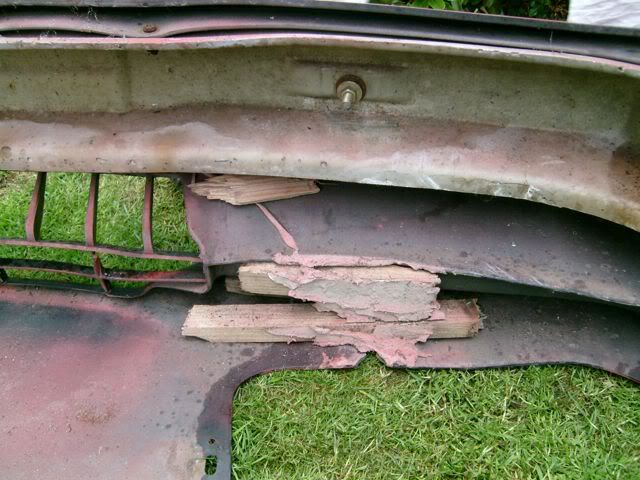
Next the front bumper was removed which gave me chance to both inspect the rubbish repair previously carried out with bits of timber -
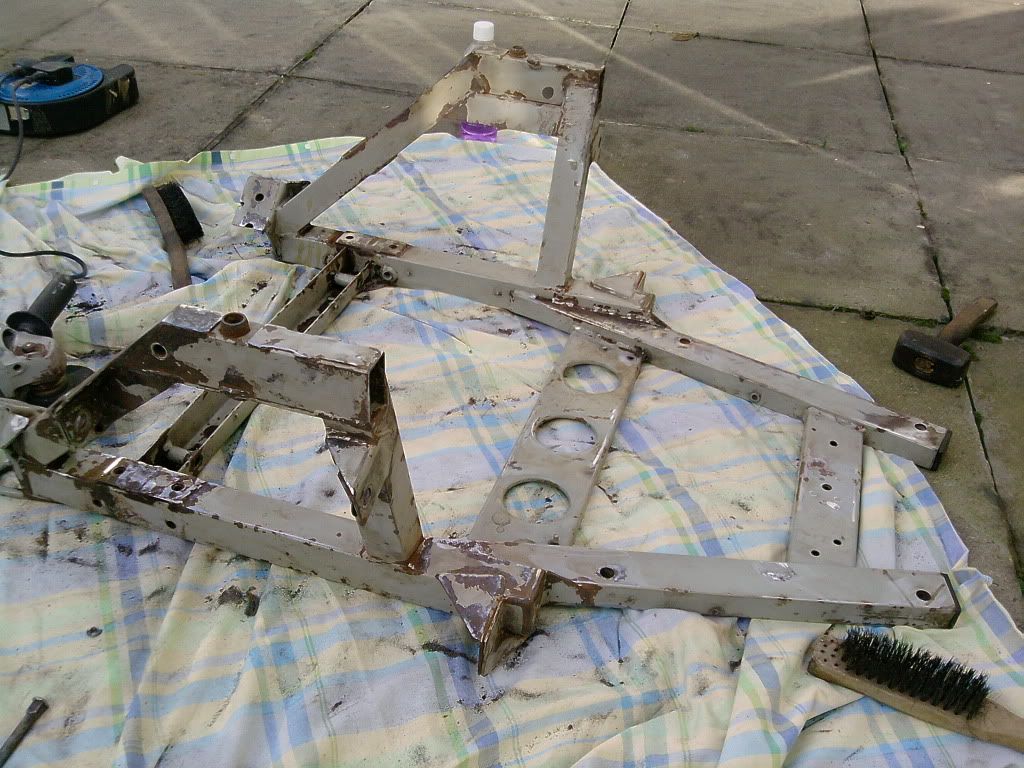
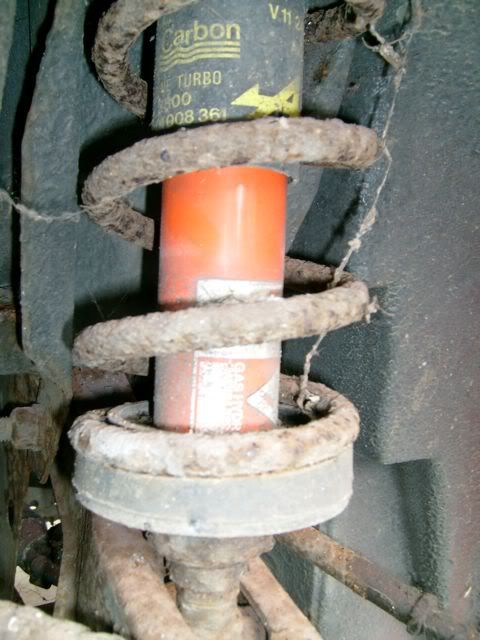
And inspect the front subframe. This looks generally ok (phew!) with surface rust but no severe corrosion or holes. The front dampers are still the adjustable Koni's which where on the car when I owned it first time around!
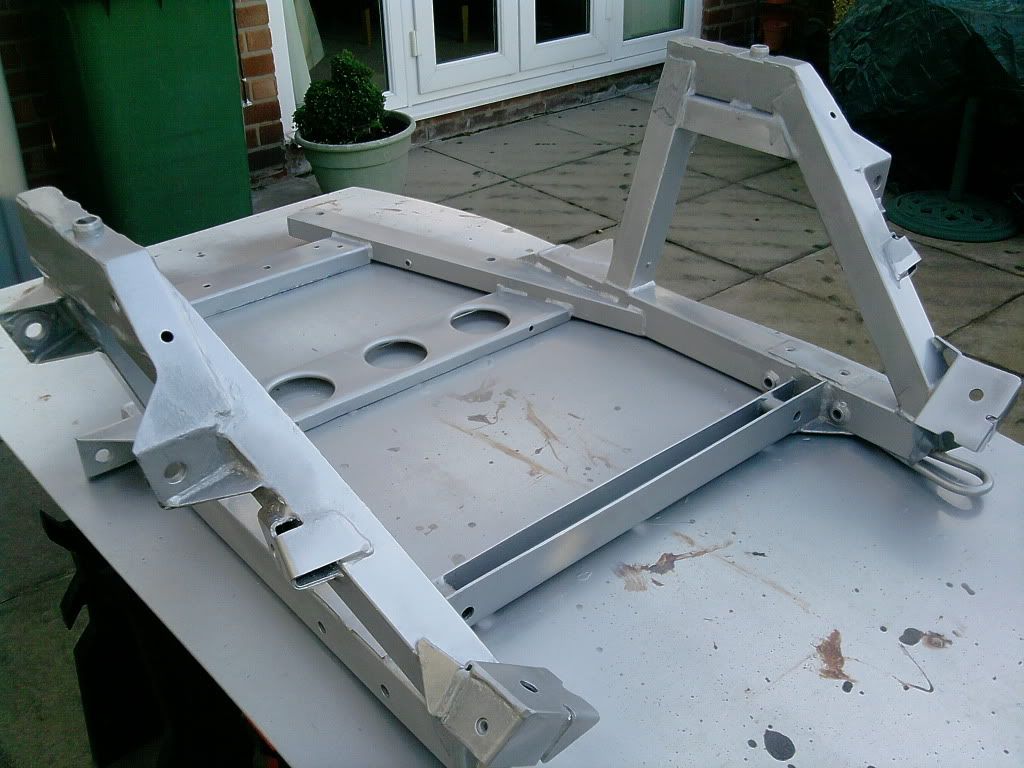
The jacking points seem reasonable with some surface corrosion but nothing too serious as as I tell. The rear subframe however is another story! The area around top wishbone mounts next to the exhaust manifolds are totally cream crackered! This will wait however until the winter when I will have more time to concentrate on it, for now I will continue stripping the front end and treating / painting the front subframe and suspension. Not sure yet if the front bumper will repair ok or if I'm better searching for a good condition replacement.
Andy.